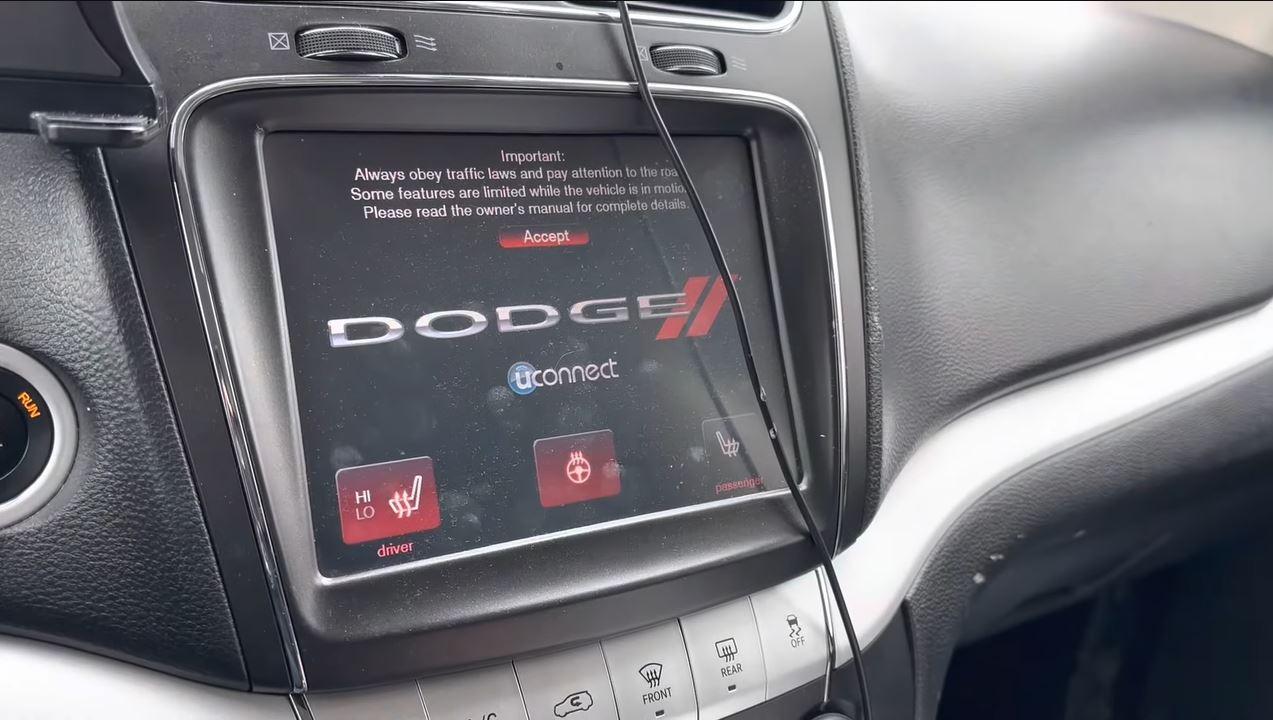
Crossover SUVs such as the Dodge Journey rely heavily on their backup cameras when it comes to reversing or maneuvering into tight spaces. These cameras offer a clear, grid-lined view of the area behind your vehicle, aiding in obstacle avoidance and ensuring the safety of pedestrians and other vehicles.
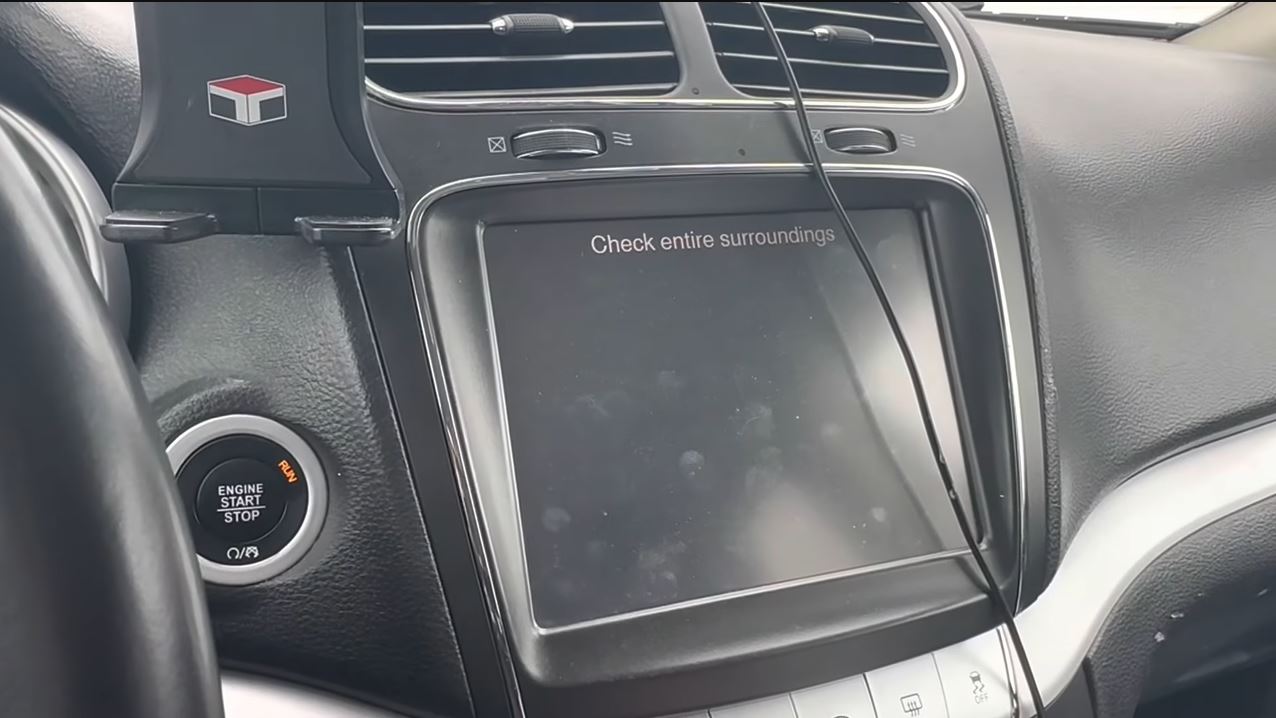
However, like any technology, the Dodge Journey Backup Camera gets various problems like upside-down pictures, flickering or blurry images, “Check surroundings” error messages, or black screens after a brief use.
To solve these problems, you first need to check the camera and display connector wires. If they are okay, you need to replace the fuse or the whole camera setup. Follow this post to get a detailed walkthrough.
Common Backup Camera Problems Of Dodge Journey
Before jumping to the solutions, you must know which camera issue you face with your Dodge Journey. Because the solutions can be different depending on the symptoms.
As a Dodge Journey owner, I’ve had my fair share of experiences with backup camera issues. And I’ve categorized them to help you pinpoint your backup camera issue more accurately.
Here’s a list of known Dodge Journey backup camera problems with possible solutions:
| Backup Camera Problems | Possible Solutions |
| No Image or Black Screen: | Restart The SUV Check camera wires. Find loose connection in Display Wires. Change the fuse. |
| Flickering or Blurry Image: | Clean the camera lens. Inspect wiring for loose connections. Replace the camera |
| Upside-down or Inverted Images: | Rebooting the Computer System Examine the Display Connector Check The Camera Wires Replace the camera |
| “Check surroundings” message on the display: | Restart The SUV Rebooting The Computer System Check for loose wires Replace the camera |
However, I must admit that the solutions for Dodge backup camera issues aren’t always crystal clear.
On several occasions, just restarting the SUV magically resolved my flickering or blurry image problem in my Dodge journey, saving me the trouble of diving into other solutions.
That’s why I recommend applying all the listed solutions number by number from the following section to troubleshoot the issue thoroughly.
Troubleshooting And Fix For Dodge Journey Backup Camera Problems

When you suddenly face any rearview/Backup camera issue on your Dodge Journey, you must restart and reboot/reset the computer in it. It will fix any software issue on your midsize SUV.
However, if the issue still remains, you have a loose connection, a defective fuse, or the camera is damaged, and you have to change it.
Here’s a detailed walkthrough for each of the fixes:
1. Restart The SUV
Based on my personal experience, restarting the Dodge journey mainly resolves issues like the “No Image” or “Black Screen” and can often clear the “Check surroundings” error message on the Dodge Journey.
However, it can also sometimes clear other errors like Flickering or Upside-down displays on your SUVs. So, you should try it initially for all Dodge Journey backup camera problems.
To restart:
- Park your Dodge Journey on the side of the road.
- Turn off the ignition key and wait 10 to 15 minutes.
- And after that, turn on the SUV and put it in reverse.
If you still can’t see the rearview camera, jump to the next solution.
2. Rebooting The Computer System
In 7 out of 10 cases, whenever you see an upside-down or inverted image on your Dodge Journey backup camera, it mainly happens to software glitches.
And rebooting your Dodge Journey’s computer can erase those errors very quickly. Here’s the detailed method:
- Turn Off the SUV: Park the Dodge Journey on the side of the road and turn off the ignition key.
- Open the Hood and Find the Battery: Pop your Dodge Journey’s hood to get to the engine area. Here, Look for its battery, usually in the front of the engine bay.
- Disconnect the Negative Terminal: There’s a black cable connected to the battery with a minus sign (“-”). Use a wrench or pliers to loosen the nut on this cable and take it off the battery.
- Wait: Now, just hang out while the it’s computer does its thing and resets—usually 10 to 15 minutes is enough to reset the vehicle completely.
- Reconnect the Negative Terminal: After waiting, put the black cable back on the battery and tighten the nut.
- Close the Hood: Gently close the hood.
Now, turn it on, and the backup camera will show the usual image.
3. Examine The Display Connector Wires
If your Dodge Journey’s backup camera occasionally displays flickering or blurry images or the screen goes dark, even with a clear lens, the Display Connector Wires are loose. To check for loose connection
- If the rearview/backup camera display is on the rearview mirror (mostly on the 2020 Dodge Journey), remove the back plastic panel with Phillips’s head screwdriver. Then, disconnect the camera connector, clean it with isopropyl alcohol, and reconnect the connector to the display.
- For other Dodge Journey models with the display next to the glove compartment, you must remove the display to access the rear-view camera connector wire.
After that, start the engine and put it in reverse. Hopefully, your camera will start working again normally. However, if the issue remains, you need to replace the fuse.
4. Check The Camera Wires

Usually, the backup camera wires of your Dodge Journey go through the right side of the hatchback– which is a significant design glitch, in my opinion.
Because if you roughly close or open the hatch, camera wires sometimes can get damaged. And you won’t see any display for your rearview display.
You will need an NT cutter, a Crimping Tool, a 16-14 gauge butt connector, and an electrical tape to check and replace any damaged wires.
After getting all the tools, follow the steps below:
- Turn off your dodge journey and open the hatchback.
- Remove the plastic cover. (You can cut open the plastic cover if you want.)
- Look for any damaged wires.
- Connect both wire ends to a 16 to 14-gauge butt connector and crimp it tightly on both ends.
- Cover the wiring using electrical tape.
- Attach the plastic/rubber cover and tap it using the electrical tape.
- Start the engine and put it in reverse mode.
If you don’t see any image in the display, you need to replace the camera fuse.
5. Replace The Fuse
When you have tried all the solutions, but the backup camera problem is not solved yet, you need to replace the camera fuse.
Quick note: You have a fuse box under the hood, but we need something else. There’s a fuse box underneath the glove box compartment, which contains the camera fuse.
Here’s the step-by-step guide to replacing your camera fuse:
- Step 1: Locating the Fuse Box
First, locate the fuse box. You’ll usually find it under the glove box in your Dodge Journey. If you need more visibility, you can remove the glove box compartment. Press both sides, lock with your hand, and pull the glove box out.
- Step 2: Remove the Fuse cover
After removing the glove compartment, you will see a plastic fuse box cover with the fuse identification number. Just insert your hand and find the pressure lock. Press it to remove the plastic.
- Step 3: Find the camera fuse
If you look closely, you will see the camera word just up the fuse box number in the pressure lock. This is the fuse you need to replace. In most Dodge Journeys, this fuse is labeled as number 107 and has 10 amps (10A) rating.
- Step 4: Replace the fuse
Pull out the old fuse and grab a new 10-amp (10A) fuse. You can get one online or at an auto parts store. Pop it into the empty slot 107.
- Step 5: Test the Rear View Camera
Put your SUV in reverse and check if the camera image shows up on the screen.
If your camera works, you are good to go; if not, jump to the next solution.
6. Replace The Camera

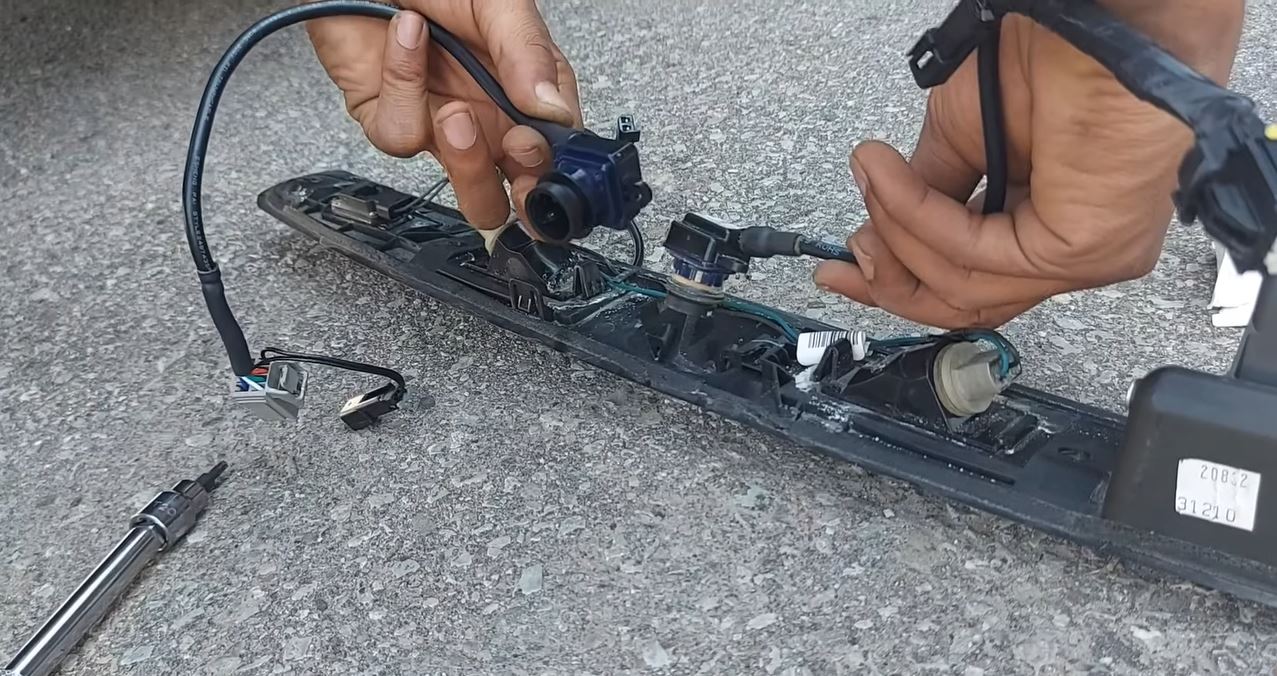
When changing the fuse doesn’t solve your Dodge Journey backup camera, you should replace the camera ASAP. Before beginning, make sure you have the following tools:
- T20 Torx screwdriver
- Flathead screwdriver
- Replacement backup camera
You can find these tools and the camera online or at an auto parts store.
Here’s a simple guide to help you replace the backup camera quickly:
- Locate the Backup Camera: Go to the back of your vehicle and look at the area just above the license plate lights; this is where you see the backup camera.
- Preparation: Remove the two Torx screws beneath the taillight assembly to access the camera.
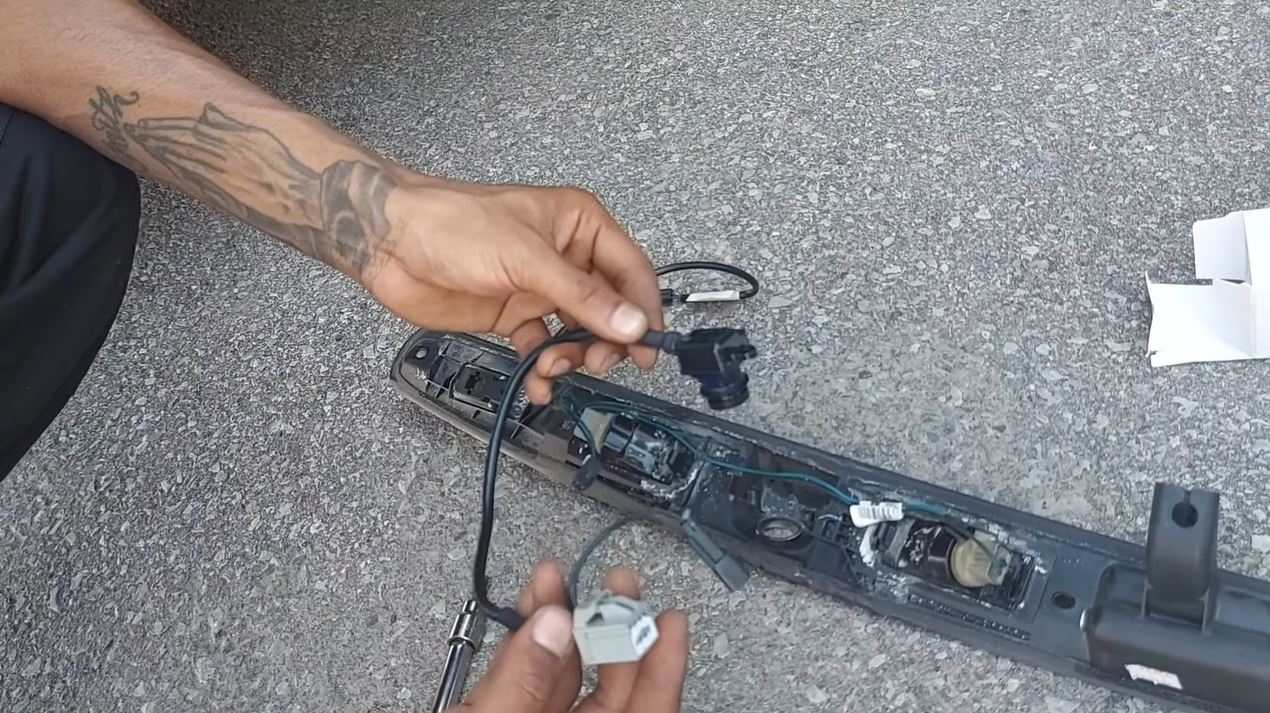
- Unplug the Old Camera: After removing the screws, locate the old camera. Carefully unplug its connectors. Make sure you don’t damage the wiring.
- Remove the Nut (if present): If there’s a nut above or below the rear wiper motor, remove it. (Dodge uses this nut to prevent unauthorized camera removal.)
- Unscrew the Camera Housing: Use the T20 Torx screwdriver to unscrew the camera housing from the vehicle.
- Adjust the New Camera Orientation: Before installing the new camera, determine its correct orientation. Plug it in, have someone depress the brake, and engage the reverse gear. It will help you establish the right camera position.
- Install the New Camera: Securely mount the new camera once you’ve determined the right orientation.
- Reassemble: Reconnect any wires detached earlier. Reattach the nut if you removed it earlier.
- Test the Camera: Plug the camera back in and have someone assist you in verifying the camera view on the screen. Confirm that it’s properly aligned.
- Reattach Everything: Use the T20 Torx screwdriver to secure the camera housing. Reconnect any wires or clips that you removed previously.
- Final Check: Double-check that all connections are secure and everything is correct.
While the process is quite long and requires a keen eye, if you follow the above guide thoroughly, you shouldn’t have any problems.
FAQs Rear View Camera
This FAQ section will answer some common queries about the backup camera. It will give you some related but crucial information about your Dodge Journey.
How Accurate Is The Rear Camera Of The Dodge Journey?
The rear camera in a Dodge Journey gives you a decent view, but it’s not super-duper-accurate. It covers about 80 degrees behind your crossover utility vehicle, or CUV, so there might be blind spots.
Can I add a backup camera to my Dodge Journey?
Yes, you can! The OEM Integrated DODGE Rear-View Camera kit is compatible with all 2008-2020 JOURNEY models that come equipped with an 8.4″ screen. It’s a great way to enhance your vehicle’s safety features.
How Much Power Does The Rearview Camera Of Your Dodge Journey Use?
The rearview camera typically uses 1–2 amps of power. However, monitors, if present, tend to use more power, around 4–5 amps.
Conclusion
And there you have it. After applying the fixes I’m sure the Dodge Journey backup camera problems won’t bother you anymore.
However, to avoid this issue in the future, you should always keep your camera lens clean and gently open & close the hatchback. It will keep your wires safe and increase the camera’s lifespan.


